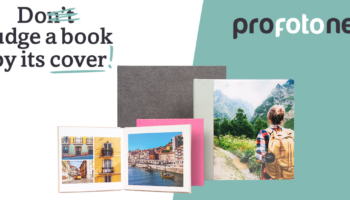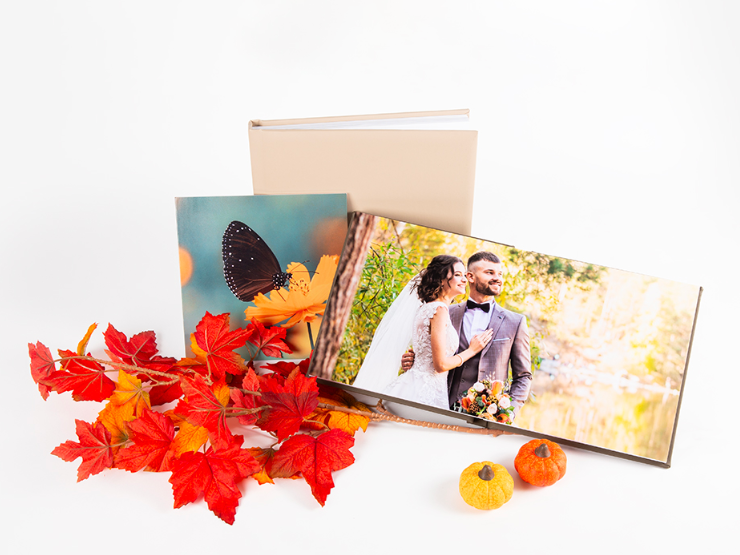
Photo albums by Profotonet
Profotonet’s Photo albums have been voted the best quality photo books of 2023. Compared to other contestants, Profotonet scored highest on several aspects such as colours and sharpness of photos and cover, finishing of the book and delivery time.
Good to know is that we do not print our photo books with a digital printing press, but we expose the pages on photochemical paper. This gives the most beautiful photos with bright and vivid colours as a result. And that is exactly what you want for your most precious memories! In addition, our Photo albums are flat-folded as standard. This means that the left and right pages form one whole without bulging. By the way, we never put barcodes or logos on or in the album.
Get started with the photo book!
Step 1: Open the online editor
Open the online editor to get started designing one of our photo books. In the editor, you can choose from different types of photo books, sizes and designs. The advantages of our online editor are the large amount of design and design options and ease of use.
Step 2: Choose a photo book type and size
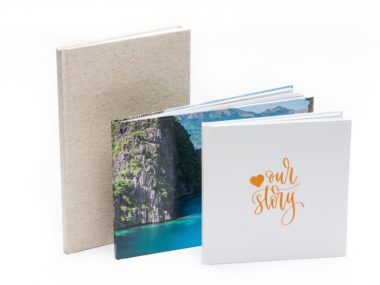
The first step is to select a photo book. With our three types of photo books, there is something for everyone. Choose from Premium Photo Book, Premium Plus Photo Book or Professional Photo Book. Then choose the orientation: landscape, square or portrait and the format. Each format has its own charms. All options per photo book type are shown in the Software.
Step 3: Define your unique cover
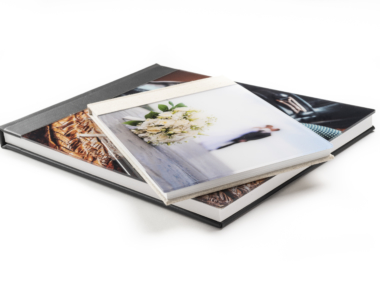
Once you have chosen the type and format of your photo book, there are various options for personalising your cover. Think of a unique Plexiglas cover with your favourite Photo. Or do you prefer a clean cover? Then choose a linen or leather cover. If you want more information about the different covers, you can click the ‘information’ button in the Software. This will open a new window with more specifications. View our new cover collections and cover colours here. You choose the cover colour during the ordering process when you have designed your photo book.
Tips! You can add beautiful details to the cover of your Photo album by embossing with foil or go for your own design laser text. Like with your names or a specific date. Add these options in step 5 after you have placed your photo book in the shopping basket.
Step 4: Photo book design
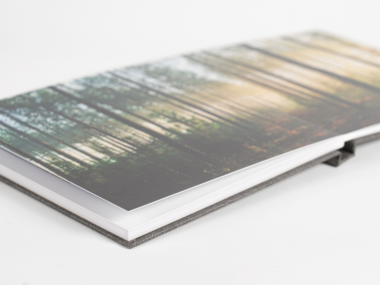
Before you can proceed to the next step, the Software asks if you want to use our Smart Design. The Smart Design automatically distributes your photos across the pages based on the photos you uploaded. This can save a lot of time and work. Or do you prefer to design your Photo album all by yourself? Then use the standard templates and give free rein to your creativity.
Collect a selection of favourite photos in a folder that you want to include in the photo book. You can do this on your desktop or via an external drive. Place your best photos in chronological order or, for a more playful effect, where you like them best. The Software also lets you edit your photos, arrange pages, change backgrounds and add effects, frames or icons. In short, there are endless options to customise your photo book.
Step 5: Ordering your personalised photo book
When you are completely satisfied with the result, add the photo book to your shopping basket. If you want to wait before placing your order, you can always edit it later. It is also possible to change the size of your Photo album. This is only possible if the format matches the type of photo book and the aspect ratio. After adding your photo book to your shopping basket, it’s time for the finishing touch. Select the cover colour, add extra details like embossing or laser text and the paper type to complete your photo book. Want to store and transport your photo book beautifully and safely? Then choose a personalised storage box. This way you will always be able to enjoy your personalised photo book. Go for a perfect match with your photo book cover or for a completely different style.
Delivery time for our photo books is up to 7 days. Can’t wait to get started? Then start creating your personal photo book right away with our Free Software!


