Make a calendar online
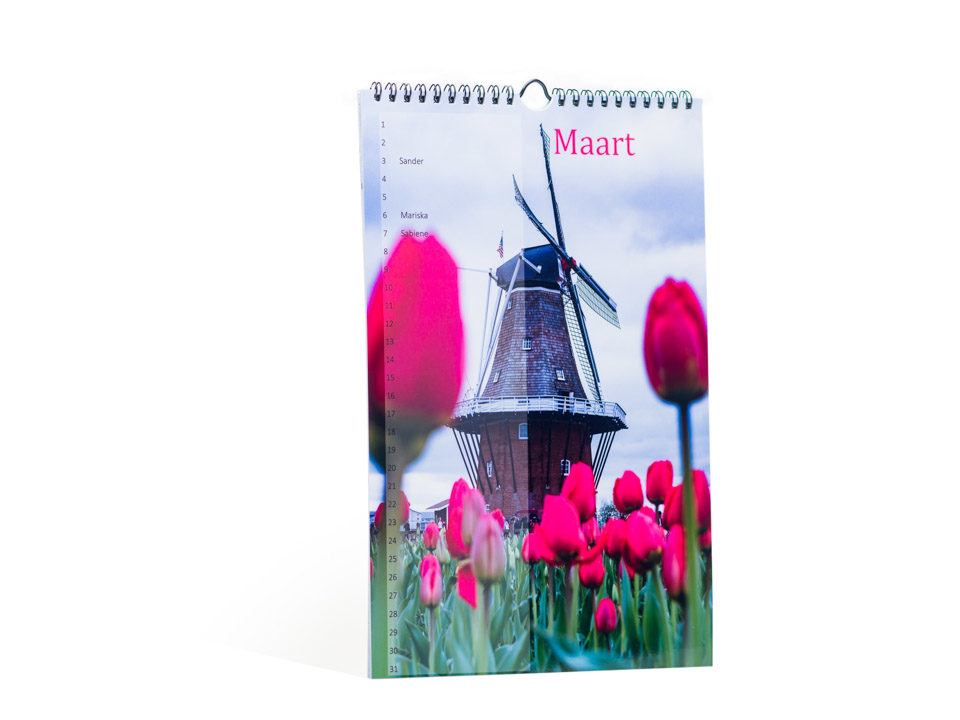
It’s very quick and very easy to make a calendar online. Choose your design, after which the product of your choice is loaded. Each page comes with its own layout, that is simple to edit via the menu. For great results, all you have to do is add some photos! Fancy customising your calendar to the max? You can enter occasions manually. So you don’t even have to write them on. Ideal, if your handwriting is on the messy side! For the final flourish, you can add a photo to the occasion. Say, a photo of the birthday girl or boy.
Make a calendar online: start
Have you already made a start on your own calendar? If so, open your project here, and carry on from where you left off. This is only possible if you have saved your project and if you have created an account. Once you’ve selected a design, you’ll be taken to a window with several options:
- Start date: the month and year the calendar should start in;
- End date: the month and year the calendar should end. This is fixed: as standard, our calendars run for 12 month periods.
- First day of the week: the day upon which the week starts;
- Calendar language: the language you want the calendar to be in.
These settings can be tweaked at a later date, if necessary. With some designs an option might be decided already. These cannot be changed.
Design options
On the left-hand side of the screen you’ll find a menu with the calendar design options.
- Add photos: to use your photos, you must first upload them. Upload them here. Click on the button and select the images on your computer. The software will upload these images. Under the photos you’ll see a green bar appear. This bar will disappear once all the photos are uploaded. Depending on your internet connection speed, uploading lots or larger sized files may take some time;
- Photos: this is where you’ll find the photos you have uploaded. To position a photo, drag it to the box in the calendar and release;
- Occasions: there are 2 options. Under ‘Add Occasion’ you can manually add birthdays. Click on the date, enter the birthday details and save. You can also use the occasion settings. There are two ready-to-use occasion lists that can be configured. Click to see the occasions listed in it. Using the switch, enable or disable the occasions list. The occasions then automatically disappear from the calendar.
- Layouts: There are several calendar page styles to choose from. Click on the layout you like and apply it to the open page, or to the whole calendar.
- Settings: Here you can tweak the start window settings.
Make a calendar online: basic functions
Right at the top of the window you’ll see a few key Online Designer functions.
- Save: Save the project. Log in first though to save. You can do so with your offline Album Designer account. Are you using our professional album software offline? If so, create a new account.
- Example: Show a preview of the project.
- Globe: change the application language.
- Log in: Log in using your existing Album Designer account
- Order: Order your calendar!
- Magnifier (bottom right): Click on this to zoom in or out of the page.
Add occasions
As explained under ‘Design options’ above, via the menu on the left you can add occasions. You can also do this by clicking on a date on the calendar. Then, enter text and adjust the text colour if you wish. You can also click on ‘Add photo’ to add a photo that will appear in small format, to select a photo or to upload a new photo.
Browse the calendar
You can browse through the calendar via the pages at the bottom of the window. The open window will be framed in green.
Edit photos
- When you click on a positioned photo, a menu appears which you can use to edit the photo.
- Cropping: Crop the photo or enlarge a section of it.
- Rotate the photo to the right/Rotate the photo to the left: Rotate the photo.
- Empty photo box: Remove the photo from the box.
Order a calendar
Is your calendar ready? Run through it once again to double-check it, using the Preview button in the top bar. If you’re happy with it, click on the green ‘Order’ button at the top right (if you’re not logged in yet).
Do you already have a Profotonet Album Designer account? Simply log in with this. Do you use our PRO software? If so, create a new account. Once you’re logged in your calendar is checked for errors and empty photo boxes. Now give your project a memorable name. You will then be sent to the online order form. This will complete your order.
Unfortunately, it isn’t possible to order multiple (different) calendars simultaneously via this online software. For this you will have to place multiple orders.


