Profotonet Reviewed 9 / 10 3609 clients
A household name among photographers for over 40 years
A household name among photographers for over 40 years A household name among photographers for over 40 years
Order overview
foto op polystyreen 2 mm
Foto-op-polystyreen
foto op polystyreen 2 mm
Foto-op-polystyreen
Back to Wall art

Photo on polystyrene

from: €13,00
  • Extremely suitable for framing
  • Available in 2mm
  • Choose from 9 types of paper
  • Production time: 7 working days
    Production time: 7 working days

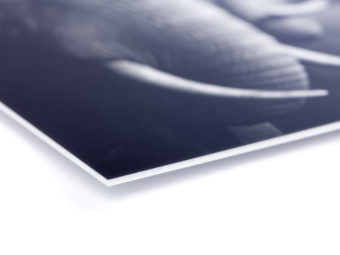
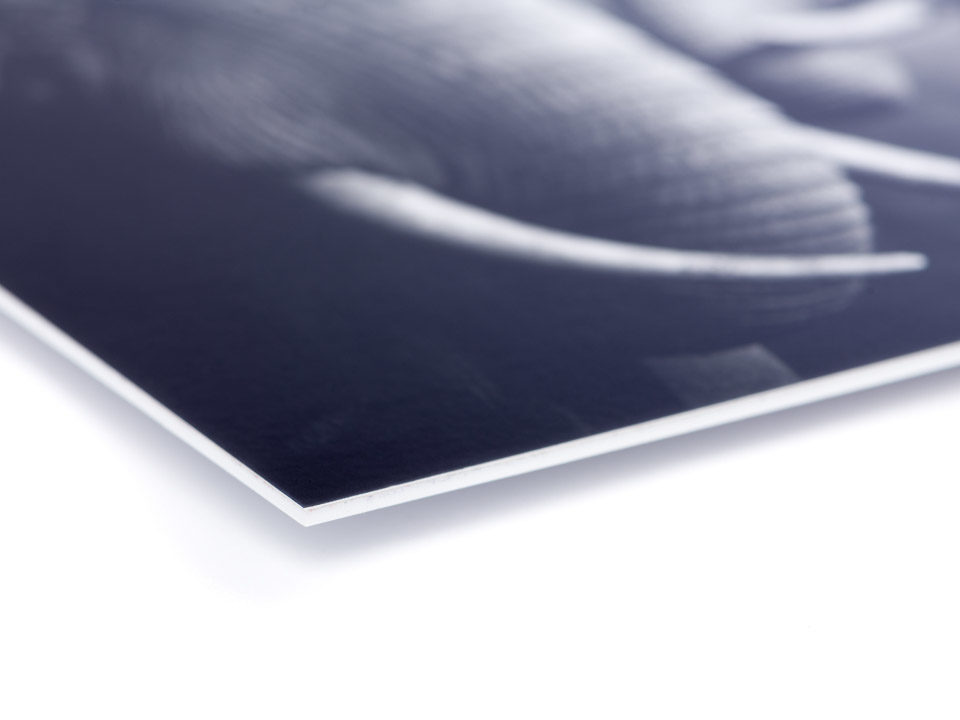
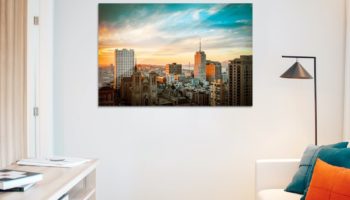
Polystyrene has a functional look&feel and is meant to reinforce framed photos. Polystyrene is a hard, smooth synthetic sheet that we supply in 2 mm thicknesses. A photo on polystyrene is ideal for framing photos. We supply polystyrene in white in 2 mm thicknesses. For larger prints we recommend Forex or Dibond.

Photo on polystyrene: formats and prices

20x20

€ 13,00

20x27

€ 15,00

20x30

€ 16,00

20x40

€ 19,00

20x60

€ 25,00

20x20

€ 18,00

20x27

€ 19,00

20x30

€ 21,00

20x40

€ 23,00

20x60

€ 29,00

20x60

€ 29,00

20x80

€ 38,00

20x100

€ 45,00

20x120

€ 53,00

30x45

€ 34,00

30x30

€ 51,00

30x40

€ 55,00

30x45

€ 57,00

30x60

€ 63,00

30x90

€ 82,00

30x30

€ 59,00

30x40

€ 63,00

30x45

€ 65,00

30x60

€ 71,00

30x90

€ 92,00

foto op polystyreen 2 mm
Photo on polystyrene Choose between 9 paper types

Photo on polystyrene: perfect for framing

Polystyrene is a hard, smooth synthetic sheet that reinforces your print. Together with a photo frame, this ensures your print won’t dimple or curl. The result is a functional look&feel, ideal for stealing the show on your wall. Polystyrene is a trendy, affordable choice. The photos are exposed on superior quality Fujifilm Digital Professional DPII photo paper and then glued onto the polystyrene. Here you have the choice, among others, between: Glossy (high gloss), Lustre (semi-matte/silky gloss), Pearl (pearly gloss) and Velvet (extra matte). For black and white photography we supply special paper types, such as Inkjet Lustre.

FAQ

What are the delivery times?

The delivery time varies per product, which is why we have provided a detailed overview where you can find all our delivery times.


What are the delivery costs?

Delivery to a Dutch address

ProductDelivery costs
Photo prints under size 30×30€ 3,99
Photo prints size 30×40 and larger€ 6,99
Wall decoration up to size 70×100€ 6,99
Wall decoration size 70×100 and larger€ 19,99
Photo books€ 5,99

Delivery to an international address

ProductDelivery costs
Photo prints under size 30×30€ 3,99
Photo prints size 30×40 and larger€ 6,99
Wall decoration up to size 70×100€ 6,99
Wall decoration size 70×100 and larger€ 19,99
Photo books€ 5,99
How do I make customised photos in Lightroom?

As a rule of thumb, we always try to print your photo to ratio, as large as possible onto your selected format. With most photos the short side is fixed and the long side is proportionally enlarged, except with panoramic photos where this is the other way round, where the long side is fixed. So, one of the sides will always be ‘standard’. But, what if you don’t want a standard format, but say instead, a 30×40 print?

Read on. The first thing to do is crop the photo. This isn’t necessary, but may help you.  Tools -> Trim (shortcut key R). 

Then, open the print menu File -> Printer (shortcut key Ctrl+P).A drop-down menu will appear on the right, listing a number of options. At the bottom, you’ll see Print taskThis menu drops down, and at the top you’ll see Print to: Printer. Change this to Print to: JPG file. Tick Edited file measurements, and enter the measurements of your ultimate file.
For example, you want a 30×40 photo. So you then order format 30×30-30×45.

Under Layout you enter where you want the white border, and how big the final photo should be. Under margins you select how much white border space you want on each side. With a 30×40 photo you get a white border measuring 0.5 cm, that you could, say, place at the top. At cell size, put in that the photo will be 30×40.

  • If the photo has already been cropped you don’t need to do anything else here.
  • If the photo isn’t yet cropped, you can now drag the photo to determine the cutout.

You can then save the photo by clicking on Print to file ….

Editing multiple photos simultaneously
 A great bonus in Lightroom is that you can create templates that help you easily apply your editing to all imported photos. For this, press on the plus sign and create a template. When you select a photo and then click on a template, it is automatically applied to the photo. Now all you need to do is check that the cutout of all the photos is right, and then simply save all the photos simultaneously by selecting them and clicking on Print to file …

How I do make customised photos in Photoshop?

Our software always enlarges the long side proportionally to the print’s short side. And with a panoramic shot, to the print’s long side. So, one of the sides will always be ‘standard’. But, what if you want an entirely different format, e.g. a printing format such as A4?

We will explain step-by-step how you can do this. Let’s begin:

Trimming

  • Start by trimming (shortcut key C), select “aspect ratio” at the top and then enter your preferred aspect ratio, e.g. 29.7×21 (do not include measurement units such as cm or mm)

Edit the image size

  • Go to Image-> Image size (shortcut key Alt+Ctrl+l) -> and enter your preferred size -> OK. 
  • This relates to the same aspect ratio you entered previously. Make sure the ‘calculate new pixels’ tick box isn’t ticked. If you don’t tick this, the resolution automatically changes with it.

Determine the measurements the photo fits into.

  • One side is fixed; the width of the paper roll your photo will be exposed on to. With all formats this is the short side, except with 10×15 up to 11×15, when it’s the long side.
  • The fixed side will NOT be trimmed. The other side is trimmed at the point where the photo stops: at the smallest at minimum format (square), and at the biggest at the size given in the previous link. But at all other formats in between too.
  • (For example: we want a 21×29.7 cm photo (state short side first), this format just falls outside the 20×20 to 20×30 range; namely, the short side is 20.3 cm, so we need to opt for 30×30 to 30×45. Thereby, the minimal format is 30.5×30.5 cm. Given our photo just falls outside that, the canvas must become 30.5×30.5 cm.
  • Imagine the photo had measured 21×40 cm, then we could make the canvas 30.5×40 cm, and would be trimmed accordingly.
  • Imagine the photo had measured 21×50 cm, this wouldn’t then have fitted this format, and the photo would have to be placed in a larger one. In this instance, 40×40 to 40×60. The canvas would then acquire the following size: 40.6×50 cm, and would trimmed accordingly.

Edit canvas size

So, you determined the canvas size based on the minimum and maximum formats.

  • Go to Image -> Canvas size (shortcut key: Alt+Ctrl+C) and enter the canvas size. Ensure “relative” isn’t ticked , and the canvas enlargement is best set to white. Unless you would prefer a different colour as extra space around your photos.

Order your photo on polystyrene now in one click.

Photo on polystyrene

Have your photo glued onto polystyrene, to create a functional look&feel. A photo on polystyrene is perfect in combination with a photo frame, so your photo can stay beautifully in place and won’t start to dimple. This is an affordable solution, with funky results.

Polystyrene is a hard, smooth synthetic sheet that reinforces your print.A photo on polystyrene, together with a photo frame, is ideal for at home too. We supply polystyrene in white in 2 mm thicknesses.

For wall art we recommend Forex for the short-term, and Dibond for the long-term.

The photos are exposed on superior quality Fujifilm DPII paper. We offer a choice between Glossy (high gloss), Lustre (matte/silky gloss), Pearl (pearly gloss) and Velvet (extra matte). For black and white photography we supply special paper types, such as Inkjet Lustre.

As a photo on polystyrene is meant for framing, we do not supply hanging systems with this product.